
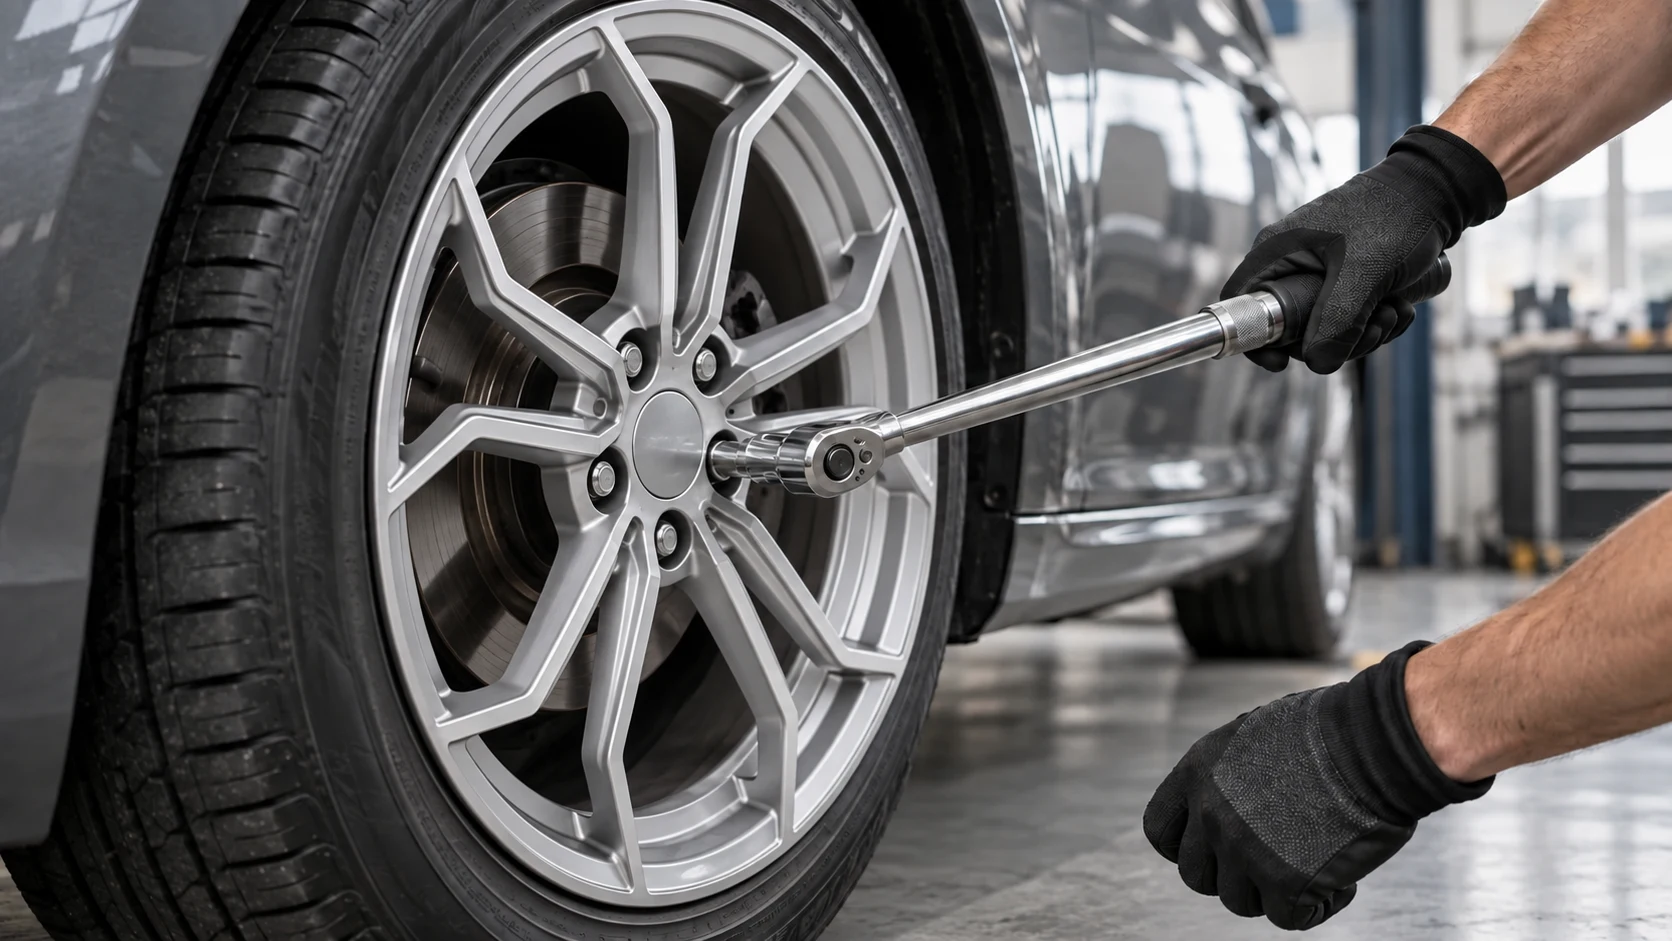
A successful wheel installation starts with a confirmed specification and ends with a documented handover. Use this SYAC guide to organise the checks between those two points.
This guide helps dealers, buyers and qualified installers prepare a job. The vehicle service information and the instructions for the actual wheel, tire and hardware determine the installation procedure. Resolve any conflicting requirements before work begins.
01 / Build the job record
Give the installer one complete specification pack, rather than a model name and a wheel diameter. A useful pack connects the vehicle, the ordered parts and the intended use, so an unanswered question is visible before the tires are mounted.
INFORMATION TO BRING
- Vehicle year, model and trim
- Brake and suspension changes
- SYAC model and order reference
- Diameter, width, PCD and offset
- Center bore and load rating
- Full tire size and tire model
- Hardware and accessory details
- Road, load and usage requirements
Separate confirmed values from assumptions. If a wheel drawing, hardware instruction or vehicle detail is missing, mark the job as awaiting confirmation. A photograph can help explain a question; it does not establish dimensional compatibility.
02 / Confirm the physical fit
Inspect the delivered wheels and identify the parts allocated to each axle. Arrange a trial fit before tire mounting, checking the hub interface and clearance to the brakes and nearby components. Tire Rack’s installation checklist provides a useful independent reference for these checks.
Record the result for the actual vehicle. An aftermarket brake kit or a different suspension package can change the answer even when the vehicle name is unchanged. Ask the installer to document unresolved clearance or seating concerns and send them to SYAC with the order reference.
03 / Verify the tire pairing
Check the exact tire size against the wheel diameter and the tire maker’s approved rim-width range. Michelin’s pre-mount inspection guidance also calls for checking tire condition and removing foreign material before assembly.
Have trained personnel carry out mounting with suitable equipment. The tire, wheel and equipment instructions govern the method and inflation limits. Set the operating pressure using the applicable vehicle information; a sidewall maximum is not a substitute for a vehicle pressure specification.
For your job record, keep the complete tire designation, approved wheel-width range and pressure reference together. On a staggered package, record the front and rear combinations separately. This makes a later replacement or reorder much easier to verify.
04 / Settle the hardware specification
Ask the installer to confirm the fastening arrangement for this exact wheel and vehicle combination. The record should identify the fastener thread, seat, length and required engagement, along with any specified centering accessories. Do not infer a seat design from the appearance of the wheel or from another brand’s installation guide.
If rings or spacers are proposed, obtain confirmation of the complete arrangement before treating them as part of the job. Keep their part numbers and instructions with the wheel record, so the final configuration can be reproduced and checked.
Write down the specified tightening value, its unit and its source for the actual application. A thread size alone is not enough to choose the value.
Tire Rack’s wheel-fastener guidance explains the importance of clean threads, the specified torque and a crisscross tightening sequence. Final torque should be established with a calibrated torque wrench. Follow the applicable instructions on thread condition; do not add lubricant unless it is specified.
05 / Close the job with evidence
Before collection, ask the workshop to complete its balancing, clearance and installation checks and explain any follow-up inspection. Keep a short handover record with the invoice. The aim is to make the fitted configuration and the next action clear to both the installer and the driver.
WORKSHOP HANDOVER RECORD
- Vehicle and wheel identification
- Front and rear tire allocation
- Installed accessory part numbers
- Balance and clearance results
- Torque value, unit and source
- Cold pressure specification
- Installer and completion date
- Follow-up check instruction
Tire Rack recommends a torque recheck within the first 50–100 miles after fitting new wheels. Confirm the follow-up interval with the installer and the applicable product instructions, and put the agreed mileage or date on the handover record.
Questions worth resolving early
Can a tire-width chart approve my combination?
Use the approved rim-width range for the full tire specification. Nominal section width on its own does not provide the complete approval.
What should I send SYAC if a fitment question remains?
Send the order number, wheel markings, complete vehicle details and a clear description of the concern. Include relevant measurements and photographs from the installer. State which component or requirement needs clarification.
What if vibration or rubbing appears after installation?
Stop using the vehicle when safe and arrange professional inspection. Share when the symptom occurs and the installation record with the workshop. A symptom description helps investigation; it does not establish a diagnosis or justify changing torque or adding accessories.
TECHNICAL REFERENCES
Prepared by SYAC Editorial Team · September 2026. The linked workshop and tire guidance supports the general checks above. Application-specific service documents remain the reference for the actual installation.
Tire Rack — Wheel installation checklist
Tire Rack — Wheel lug nuts and bolts
Michelin — Visual inspection before mounting
NEXT STEP